

Decorating Easter Eggs with Paper Napkins

Welcome Back!!!
It's been awhile since my last blog post, actually a year, how crazy is that? Sometimes, life throws some unexpected things your way and you push aside your passions for awhile. Being creative is what I love to do. So, I'm happy to be back, and hope to provide more content for you moving forward.
With everything going on in the world right now, and families looking for new craft ideas to do with their children, my daughter Mia and I thought this would be the perfect time to put together a quick and easy Easter egg craft. Easter will be here fast, so we need to get a HOP on some ideas now !

Today, we will be decorating Easter eggs with paper napkins.
ITEMS YOU WILL NEED:
1. Paper Napkins with any design ( Favorite character, floral, plaid, etc.)
2. Eggs ( white or beige work best) Plastic, Wooden, or Hard boiled
3. Scissors
4. Small paint brush
5. MOD PODGE or watered down Elmer's glue
6. Egg carton or Cooling rack
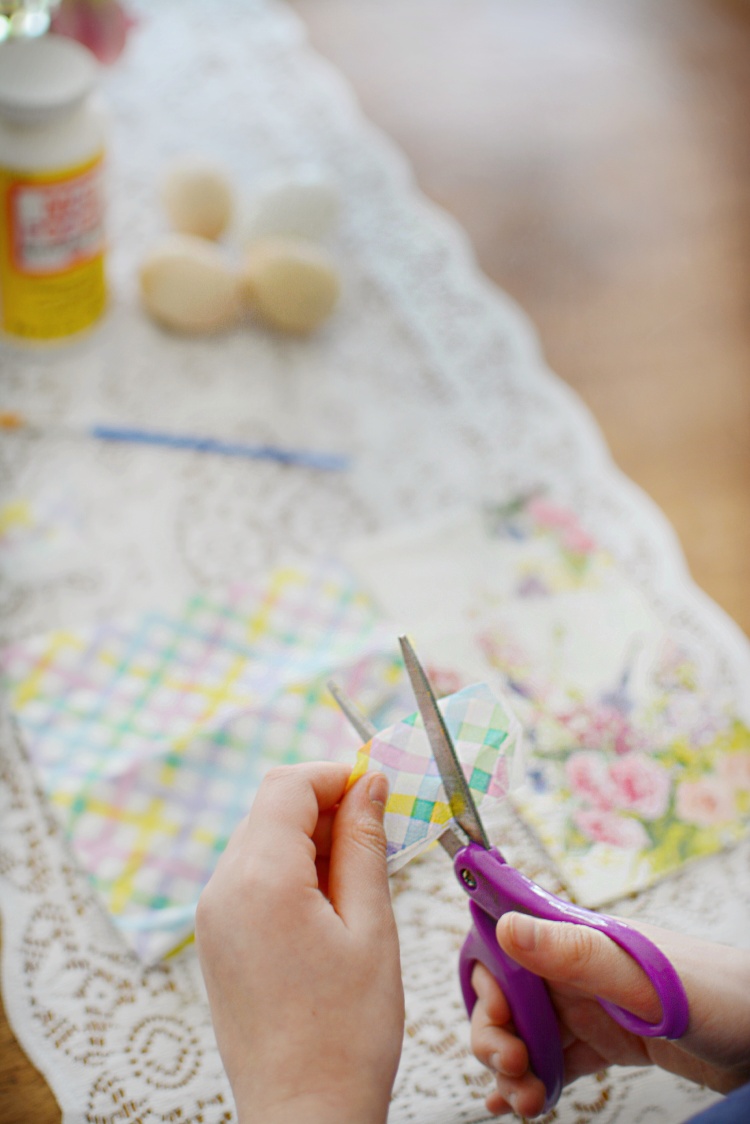
STEP : 1
Cut your napkins into small pieces.

With Floral or Characters cut around the outer edge.

STEP: 2
Use your paint brush to apply Mog podge or Glue to your egg one spot at a time.

STEP: 3
Add your cut napkin pieces one at a time and more Mog Podge or glue to the top, repeat steps 2 and 3 until your egg is covered.


STEP: 4
After your egg is complete, you can use an egg carton or cooling rack to place your finished eggs on to dry. Drying time should only take a few hours.


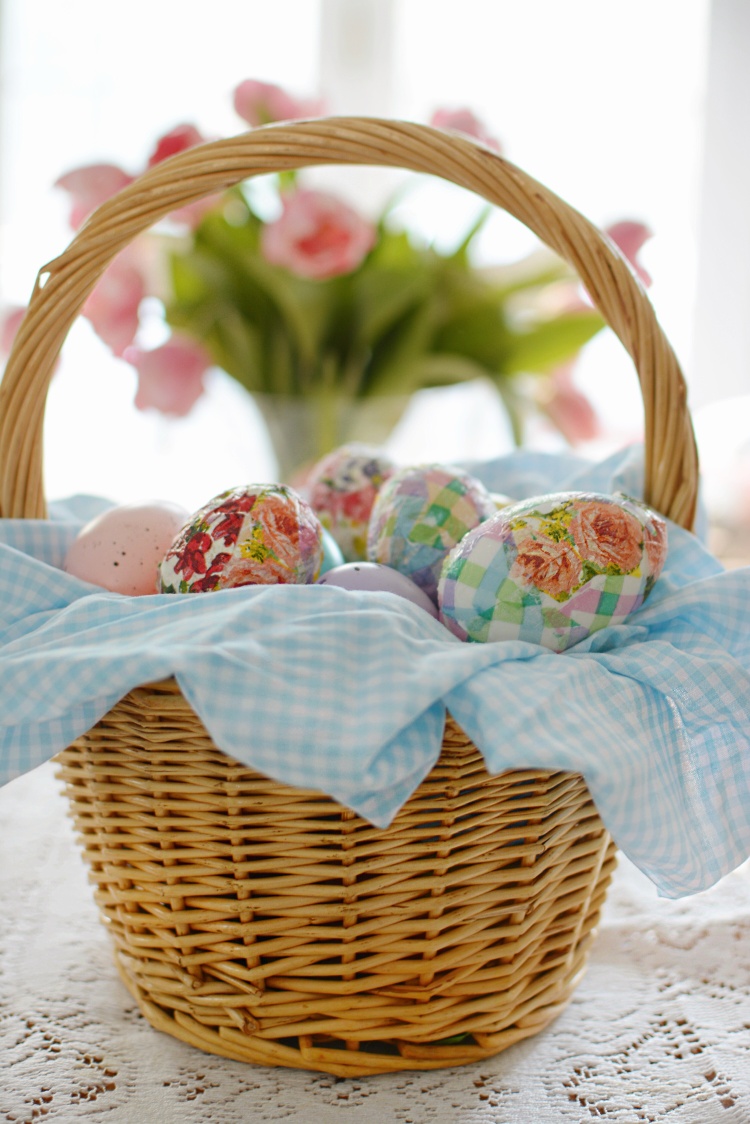
STEP: 5
Add them to a basket, a bowl, decorate your mantel or use them on your table at Easter. They would also make a great gift.

Please stay safe and healthy, enjoy this time with your family and have a wonderful Easter!
xoxo
Amanda & Mia


0 comments: